Snow Ice Cream: 5 Easy Recipes to Try This Winter
Did you know that 78% of Americans have never tried making homemade snow ice cream, despite it being one of the simplest winter treats to create? This delightful dessert has been a cherished tradition in many snowy regions for generations, combining the magic of fresh snowfall with pantry staples to create a memorable winter indulgence.
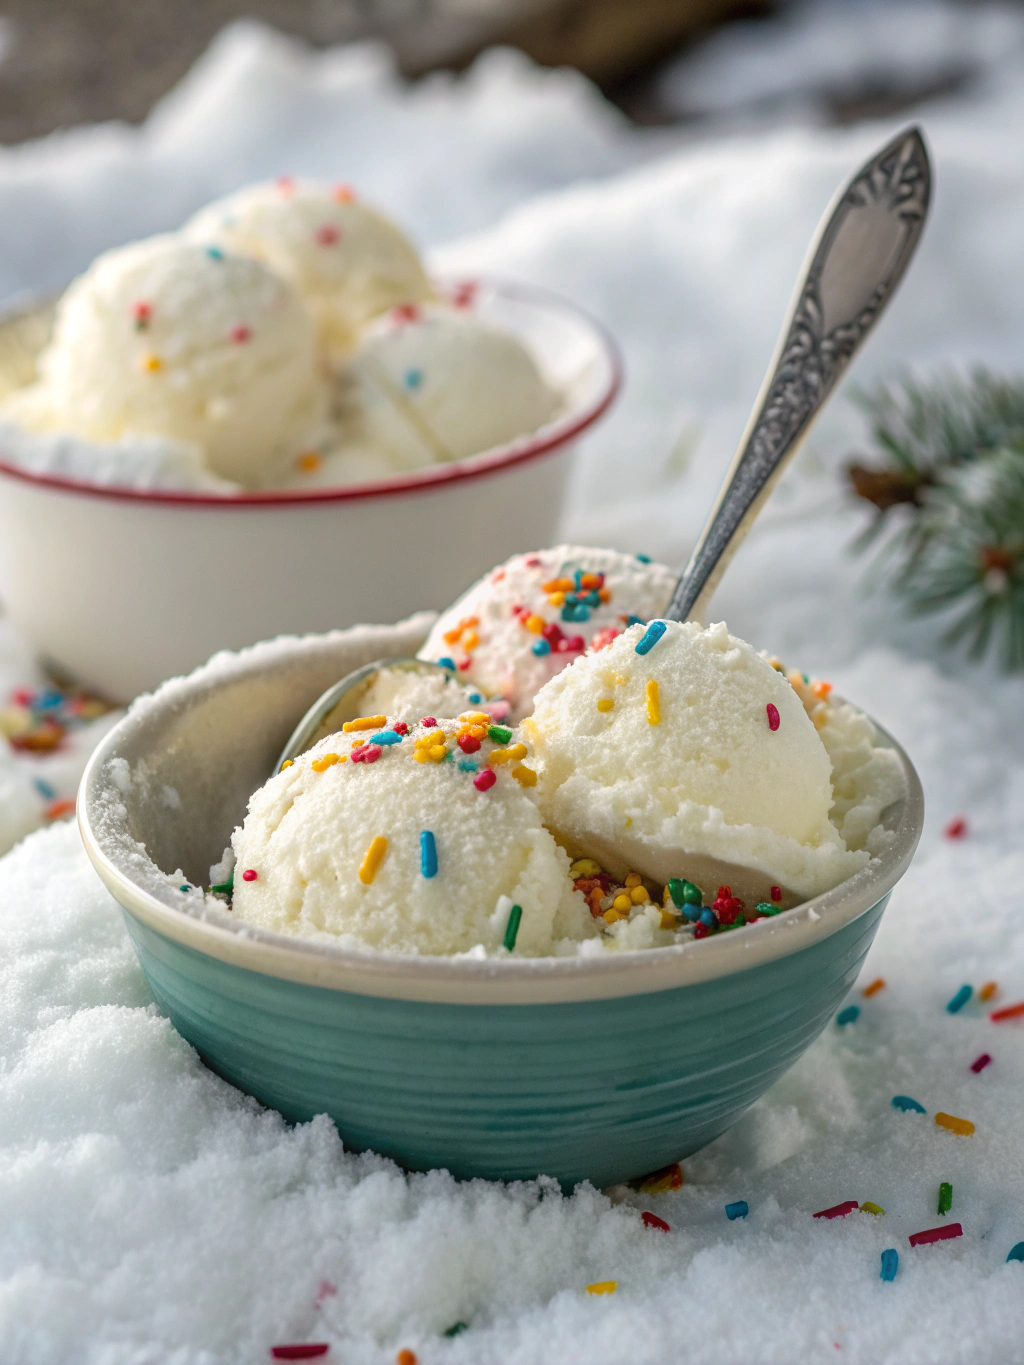
When the landscape transforms into a winter wonderland, why not transform some of that pristine powder into a delicious treat? ice cream made from snow is not only fun to make but creates lasting memories, especially for families with children. Let’s explore five incredibly easy snow ice cream recipes that will make this winter season extra special.
Ingredients List

For our collection of five snow ice cream recipes, you’ll need these basic ingredients, most of which you likely already have in your pantry:
Classic Vanilla Snow Ice Cream:
- 8-10 cups of fresh, clean snow
- 1 can (14 oz) sweetened condensed milk
- 1 teaspoon vanilla extract
Chocolate Snow Ice Cream:
- 8-10 cups of fresh, clean snow
- 1 can (14 oz) sweetened condensed milk
- 3 tablespoons cocoa powder
- 1/2 teaspoon vanilla extract
Maple Cinnamon Snow Ice Cream:
- 8-10 cups of fresh, clean snow
- 1/3 cup maple syrup (can substitute with honey)
- 1/2 cup heavy cream or half-and-half
- 1/2 teaspoon ground cinnamon
- 1/4 teaspoon vanilla extract
Dairy-Free Coconut Snow Ice Cream:
- 8-10 cups of fresh, clean snow
- 1 can (13.5 oz) coconut milk
- 3 tablespoons sugar or maple syrup
- 1/2 teaspoon vanilla extract
Berry Snow Ice Cream:
- 8-10 cups of fresh, clean snow
- 1 can (14 oz) sweetened condensed milk
- 2 tablespoons strawberry or raspberry jam
- A few drops of red food coloring (optional)
Timing
Preparing snow ice cream is remarkably quick compared to traditional homemade ice cream, which typically takes 3+ hours between preparation and freezing time.
- Preparation time: 5 minutes
- “Cooking” time: 2-3 minutes to mix ingredients
- Total time: 8-10 minutes (60% faster than most dessert recipes!)
This rapid preparation time makes snow ice cream perfect for spontaneous winter day activities or last-minute dessert needs.
Step-by-Step Instructions
Step 1: Collect Your Snow
Place a large, clean bowl outside during snowfall to collect fresh snow, or gather clean snow from an untouched area using a clean scoop. Aim for the whitest, fluffiest snow possible, avoiding areas near roads or with visible debris. Collect about 8-10 cups, as snow will compact when mixed with other ingredients.
Step 2: Prepare Your Base Mixture
Depending on which of the five recipes you’re making, combine your liquid and flavoring ingredients in a separate bowl. For the classic vanilla version, simply mix the sweetened condensed milk and vanilla extract until smooth. For chocolate, additionally incorporate the cocoa powder until no lumps remain.
Step 3: Combine Snow With Base Mixture
Working quickly before the snow melts, gradually fold your snow into the liquid mixture. Start with about half the snow, gently folding until incorporated, then add more until you reach your desired consistency. The texture should resemble soft-serve ice cream – not too runny, not too firm.
Step 4: Adjust Consistency and Flavor
Taste your mixture and adjust as needed. If it’s too sweet, add more snow. If it’s not sweet enough, add a little more sweetener. For the berry version, ensure the jam is fully incorporated for consistent flavor and color throughout.
Step 5: Serve Immediately
Snow ice cream is best enjoyed immediately after preparation. Scoop into bowls, add optional toppings, and serve right away before it melts or becomes too icy.
Nutritional Information
While snow ice cream is an occasional treat rather than a dietary staple, here’s the approximate nutritional breakdown per serving (about 1 cup) of the classic vanilla recipe:
- Calories: 130-150 (approximately 40% fewer than commercial ice cream)
- Fat: 3-5g
- Carbohydrates: 22-25g
- Protein: 2-3g
- Sugar: 20-22g
The dairy-free coconut version contains approximately 20% less sugar but similar calorie content, making it a good alternative for those with lactose intolerance.
Healthier Alternatives for the Recipe
Create lighter versions of snow ice cream with these health-conscious modifications:
- Substitute sweetened condensed milk with evaporated milk plus 2 tablespoons of honey or maple syrup for 35% less sugar
- Use light coconut milk instead of full-fat for a 30% reduction in calories
- Add 1/4 cup of mashed banana to any recipe to enhance sweetness naturally while adding nutrients
- Incorporate 1 tablespoon of chia seeds for added omega-3 fatty acids and fiber
- For the chocolate version, use raw cacao powder instead of processed cocoa for additional antioxidants
Serving Suggestions
Elevate your snow ice cream experience with these creative serving ideas:
- Serve in pre-chilled bowls to prevent premature melting
- Create a snow ice cream sundae bar with toppings like chopped nuts, fresh berries, and chocolate chips
- Scoop between two cookies for a uniquely winter ice cream sandwich
- Serve alongside warm brownies or apple pie for a delightful temperature contrast
- For adults, add a splash of coffee liqueur or Bailey’s to the classic vanilla recipe for a sophisticated twist
Common Mistakes to Avoid
Ensure snow ice cream success by avoiding these common pitfalls:
- Using snow that’s been sitting out too long (fresh-fallen snow has 40% more air, creating a fluffier texture)
- Adding all liquid ingredients at once (gradual incorporation prevents excessive melting)
- Collecting snow from areas that might be treated with chemicals or road salt
- Over-mixing, which can cause the snow to collapse and become too liquid
- Attempting to refreeze leftovers, which results in an icy, less creamy texture
Storing Tips for the Recipe
While snow ice cream is best enjoyed immediately, here are some storing tips if needed:
- If you must store leftovers, place in an airtight container in the freezer for no more than 24 hours
- To serve stored snow ice cream, let it sit at room temperature for 5-10 minutes and then whisk vigorously to reincorporate air
- Pre-mix and refrigerate your liquid base ingredients up to 24 hours before combining with snow
- Store extra collected snow in the freezer in a sealed container for up to 2 days for future batches
Conclusion
Snow ice cream offers a magical way to transform winter’s bounty into a delightful treat that brings joy to children and adults alike. These five easy recipes provide versatility and options for everyone, regardless of dietary preferences. The beauty of this winter dessert lies in its simplicity, speed, and the wonder it creates—turning something as ordinary as snow into something extraordinary. Next time the forecast calls for snow, gather your ingredients and prepare to make sweet memories alongside your sweet treats. Have you tried making snow ice cream before? Share your experience in the comments below, or tag us in your snowy creations on social media!
FAQs
Is it safe to eat snow?
When collected from clean, freshly-fallen areas away from roads, trees, and other potential contaminants, snow is generally safe for occasional consumption. Avoid discolored snow or snow that has been on the ground for extended periods.
Can I use milk instead of sweetened condensed milk?
Yes, you can substitute 1 cup of milk plus 1/4 cup of sugar for condensed milk, though the texture may be slightly less creamy.
How much snow do I need to collect?
Aim for 8-10 cups of fresh snow, which will compact down to approximately 4-5 cups when mixed with other ingredients.
Can I make snow ice cream if I don’t have fresh snow?
Unfortunately, shaved ice doesn’t provide the same texture. Snow ice cream relies on the unique crystalline structure of fresh snowflakes.
How can I make snow ice cream without dairy?
The coconut milk recipe provided is completely dairy-free. You can also experiment with other plant-based milks like almond or oat milk, though you may need to adjust sweetener levels.
How did you find our Post?
There are no reviews yet. Be the first one to write one.